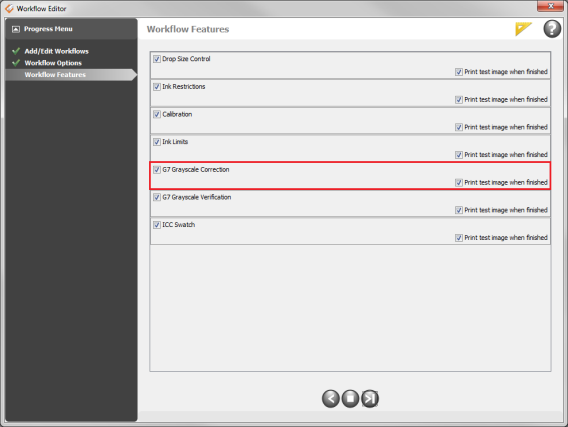
as usual up through the Ink Limit step. The next step is the [G7® Grayscale Correction] step.
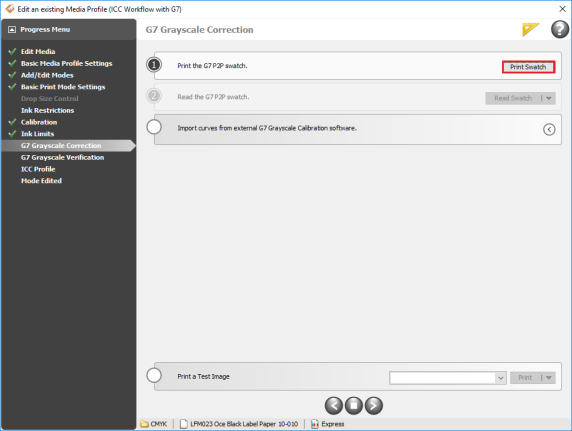
In the [G7® Grayscale Correction] step;
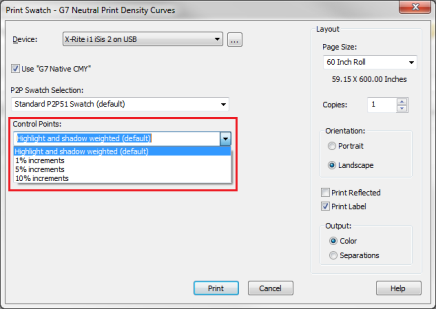
1. Click [Print ]. This opens “Print Swatch-G7 Neutral Print Curves” window (Figure 3).
2. [Use “G7 Native CMY”] allows for print-mode specific variations of 300% gray balance to be accounted for. This is especially important when a print mode has a significantly different color for 300% CMY than for offset printing. This setting is enabled by default (Figure 4).
3. In this dialog, there is [P2P Swatch selection]. This option has 2 selections: Standard P2P51 Swatch (default), Less Cyan (better for solvent printers). (Figure 4).
(NOTE: Default settings in the “Print Swatch” dialog are recommended for most inkjet printers. However, for solvent printers, it is recommended to use [Less Cyan (better for solvent printers)] setting.
Starting in version 18.5, you can set the desired number of [Control Points:] for the G7® Grayscale Correction (Figure 4). .
• 1% increments
• 5% increments
• 10% increments
[Highlight and shadow weighted (default)] is the default setting
NOTE: Higher numbers of control points can potentially increase the accuracy of the grayscale correction, but it is generally printer-dependent. Lower amounts of control points can be useful if the printer is already fairly linear.
4. Select the appropriate number of control points for your printer.
NOTE: The control points selected in this step will also be used if an iteration is done on the G7® Verification step.
5. Once the P2P swatch has been printed, click the [Read Swatch] button and read in the swatch (Figure 5).
6 After reading the P2P swatch, G7® Grayscale correction curves are automatically built. Click [Next] button to proceed to [G7® Grayscale Verification] step.
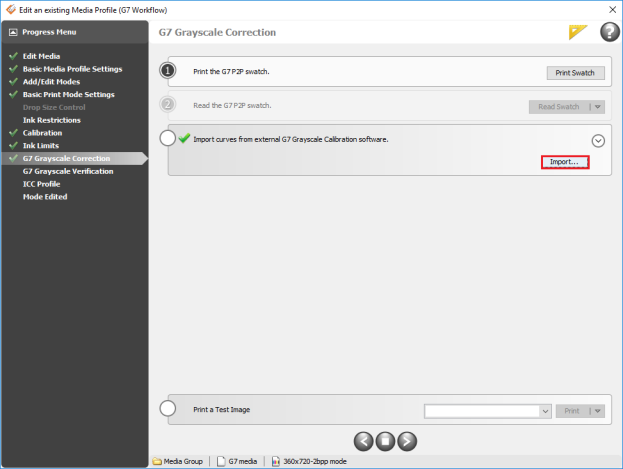
Alternatively, to import G7® Grayscale correction curves from third-party software, click the expansion arrow ( ) in the white circle step, and click the [Import... ] button (Figure 6).
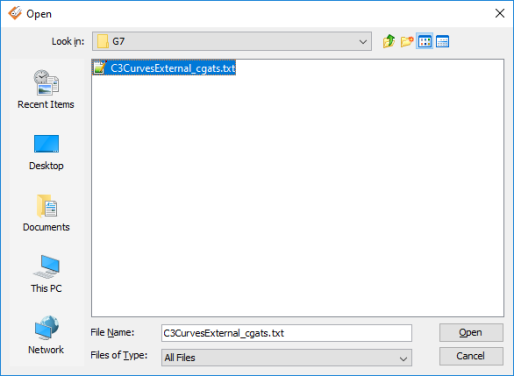
- Select a CGATS file (.txt extension) with the third party G7® curves and click [OK] (Figure 7)..
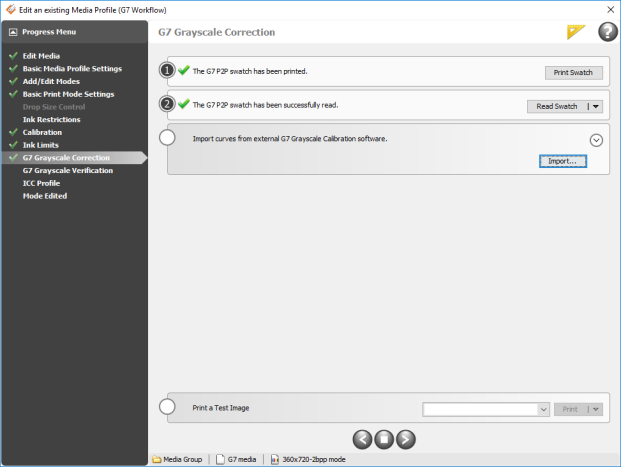
- The imported curves are set as default, and the step receives a green check mark (Figure 8).
- Click next button (
 ) to proceed to [G7® Grayscale Verification] step.
 Correction
 Add / Edit Workflows
 ) and choose [Yes] to close the “Workflow Editor” window.